Lessons learnt from a first green screen video attempt
We have a lot of creative ideas and skills between us at NovaLoca, together with an empty space we could use. So we decided it was time to grab a clapperboard and get on with producing our very first green screen explainer video. Here’s how we did it and a few lessons we learnt along the way so we can help you, if you decide to create your own production.
What does green screen video mean? Filming with a green screen or sheet as a backdrop allows for this colour to be digitally removed and replaced with another scene.
Green is the colour of choice for these removals because it is the furthest colour from human skin tone. When it is taken away it will not take part of the people in the scene (well almost, as we were to discover). If you did need to have a green item in your film, you could use a blue screen which was the film industry standard for many years. Chromakey is the name of the process of replacing the green with other footage and for this we used Adobe After Effects with a few tweaks in Adobe Premiere Pro.
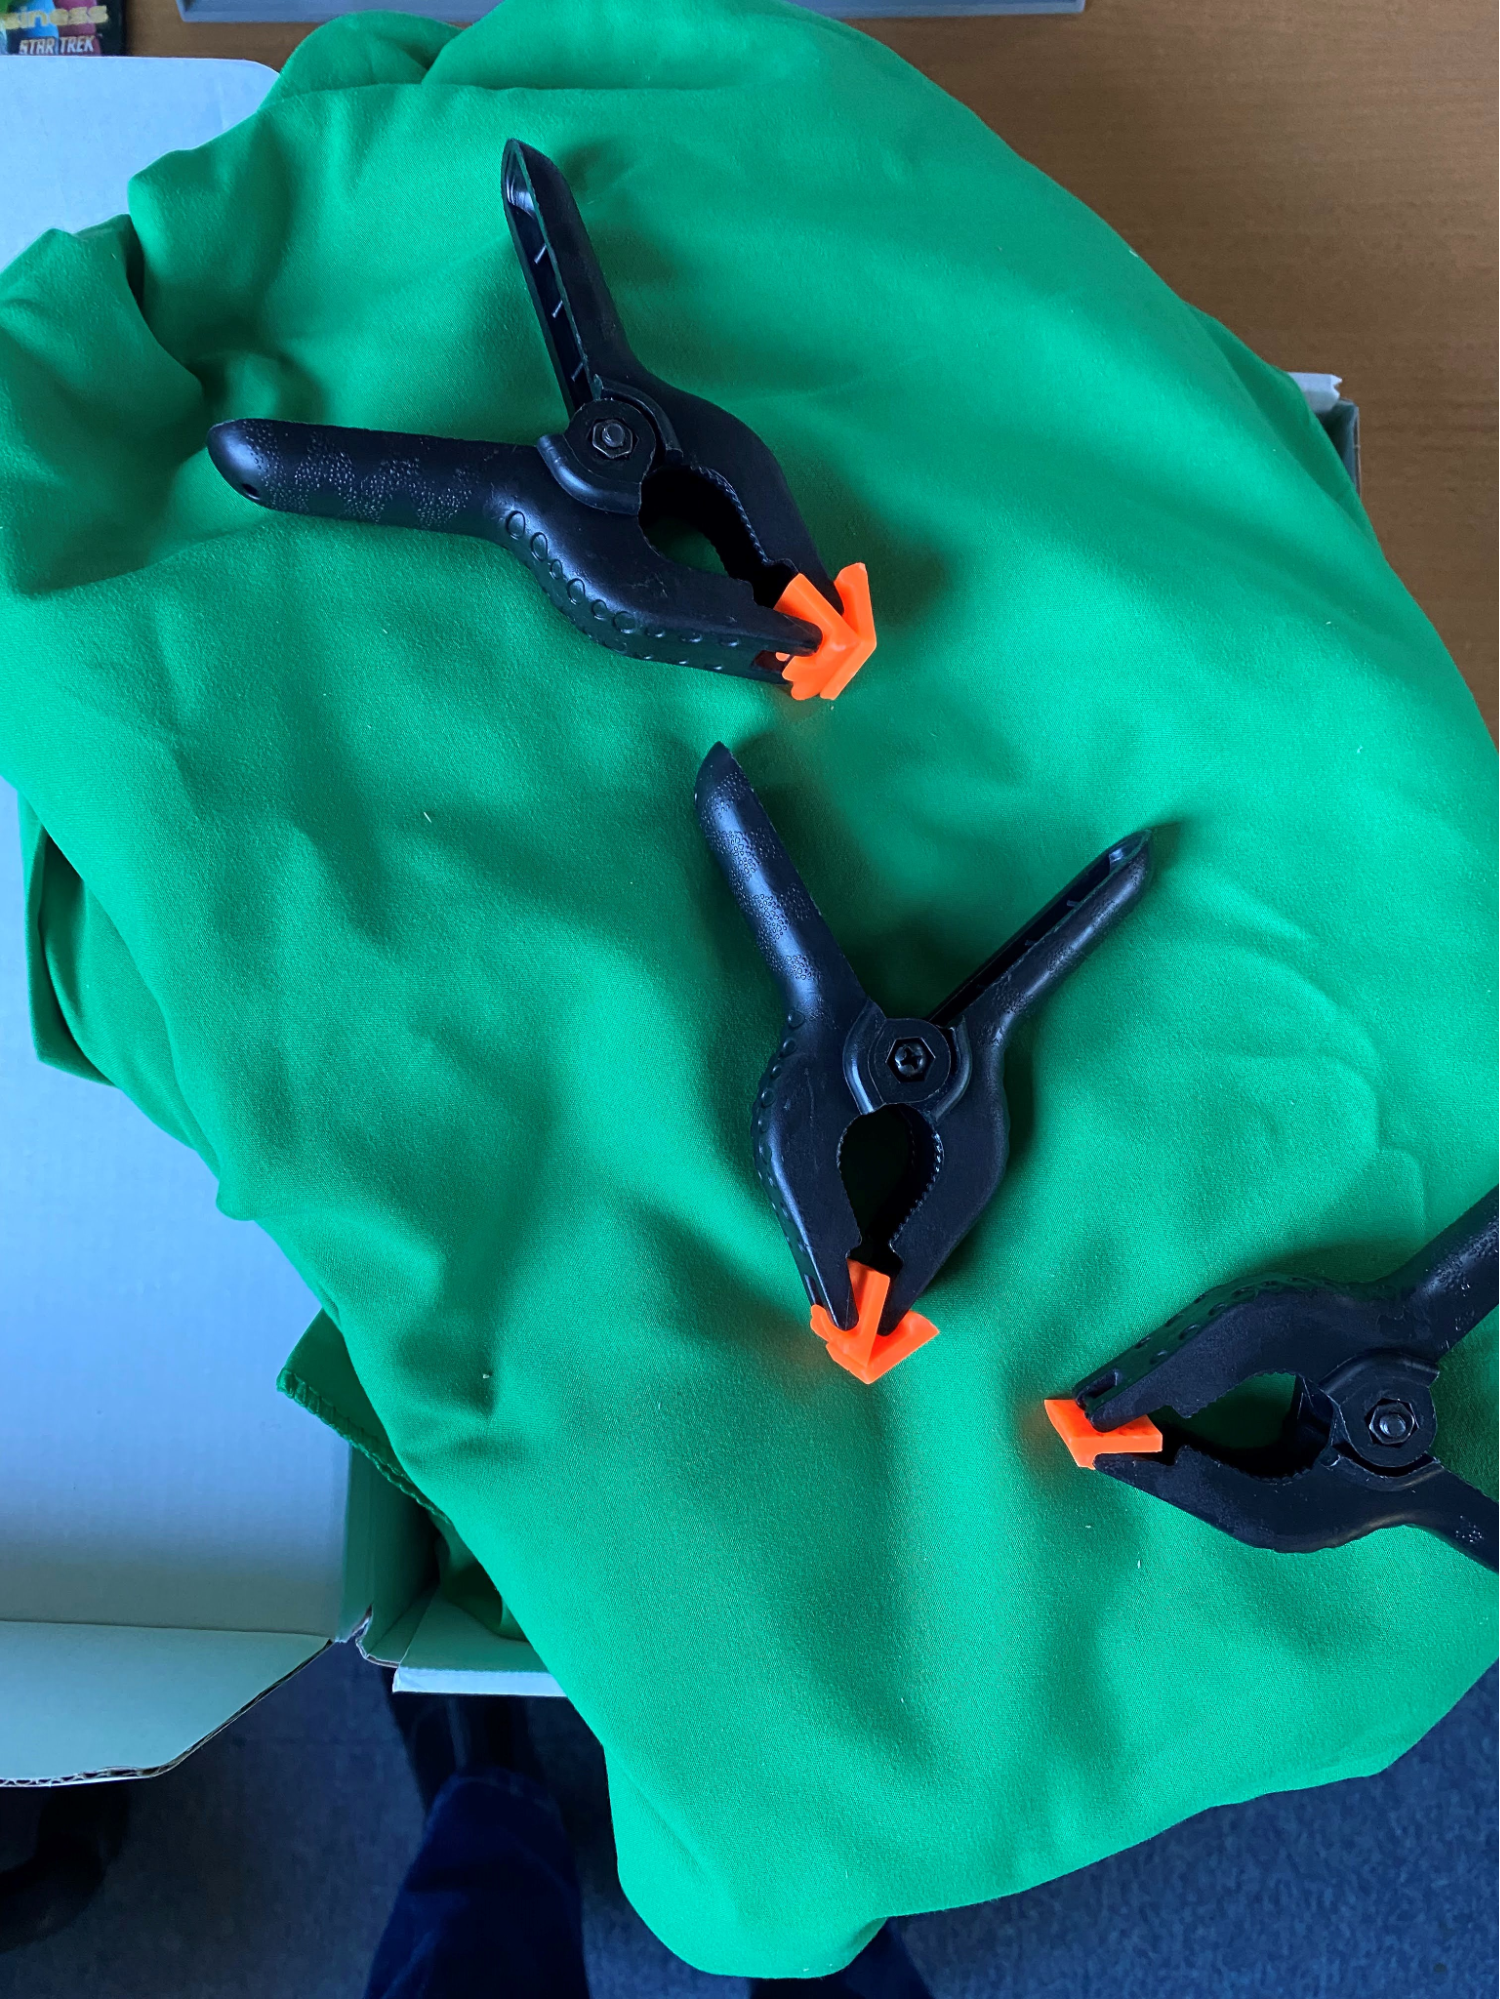
We were delighted to discover that a green screen sheet can be obtained cheaply so if our experiment didn’t work out too well we wouldn’t have blown the budget. The screen came with clips so we could hang the sheet up but you may want to consider purchasing a stand if you have no way of hanging the cloth.
As far as other set up concerns go, you need to ensure you have even lighting across the screen, you don’t want to be casting shadows. With advice from a professional photographer (thanks Dad!) we concluded we didn’t require extra lights as the space we were filming in was empty, a neutral white colour and lit by windows down one side providing that even light.
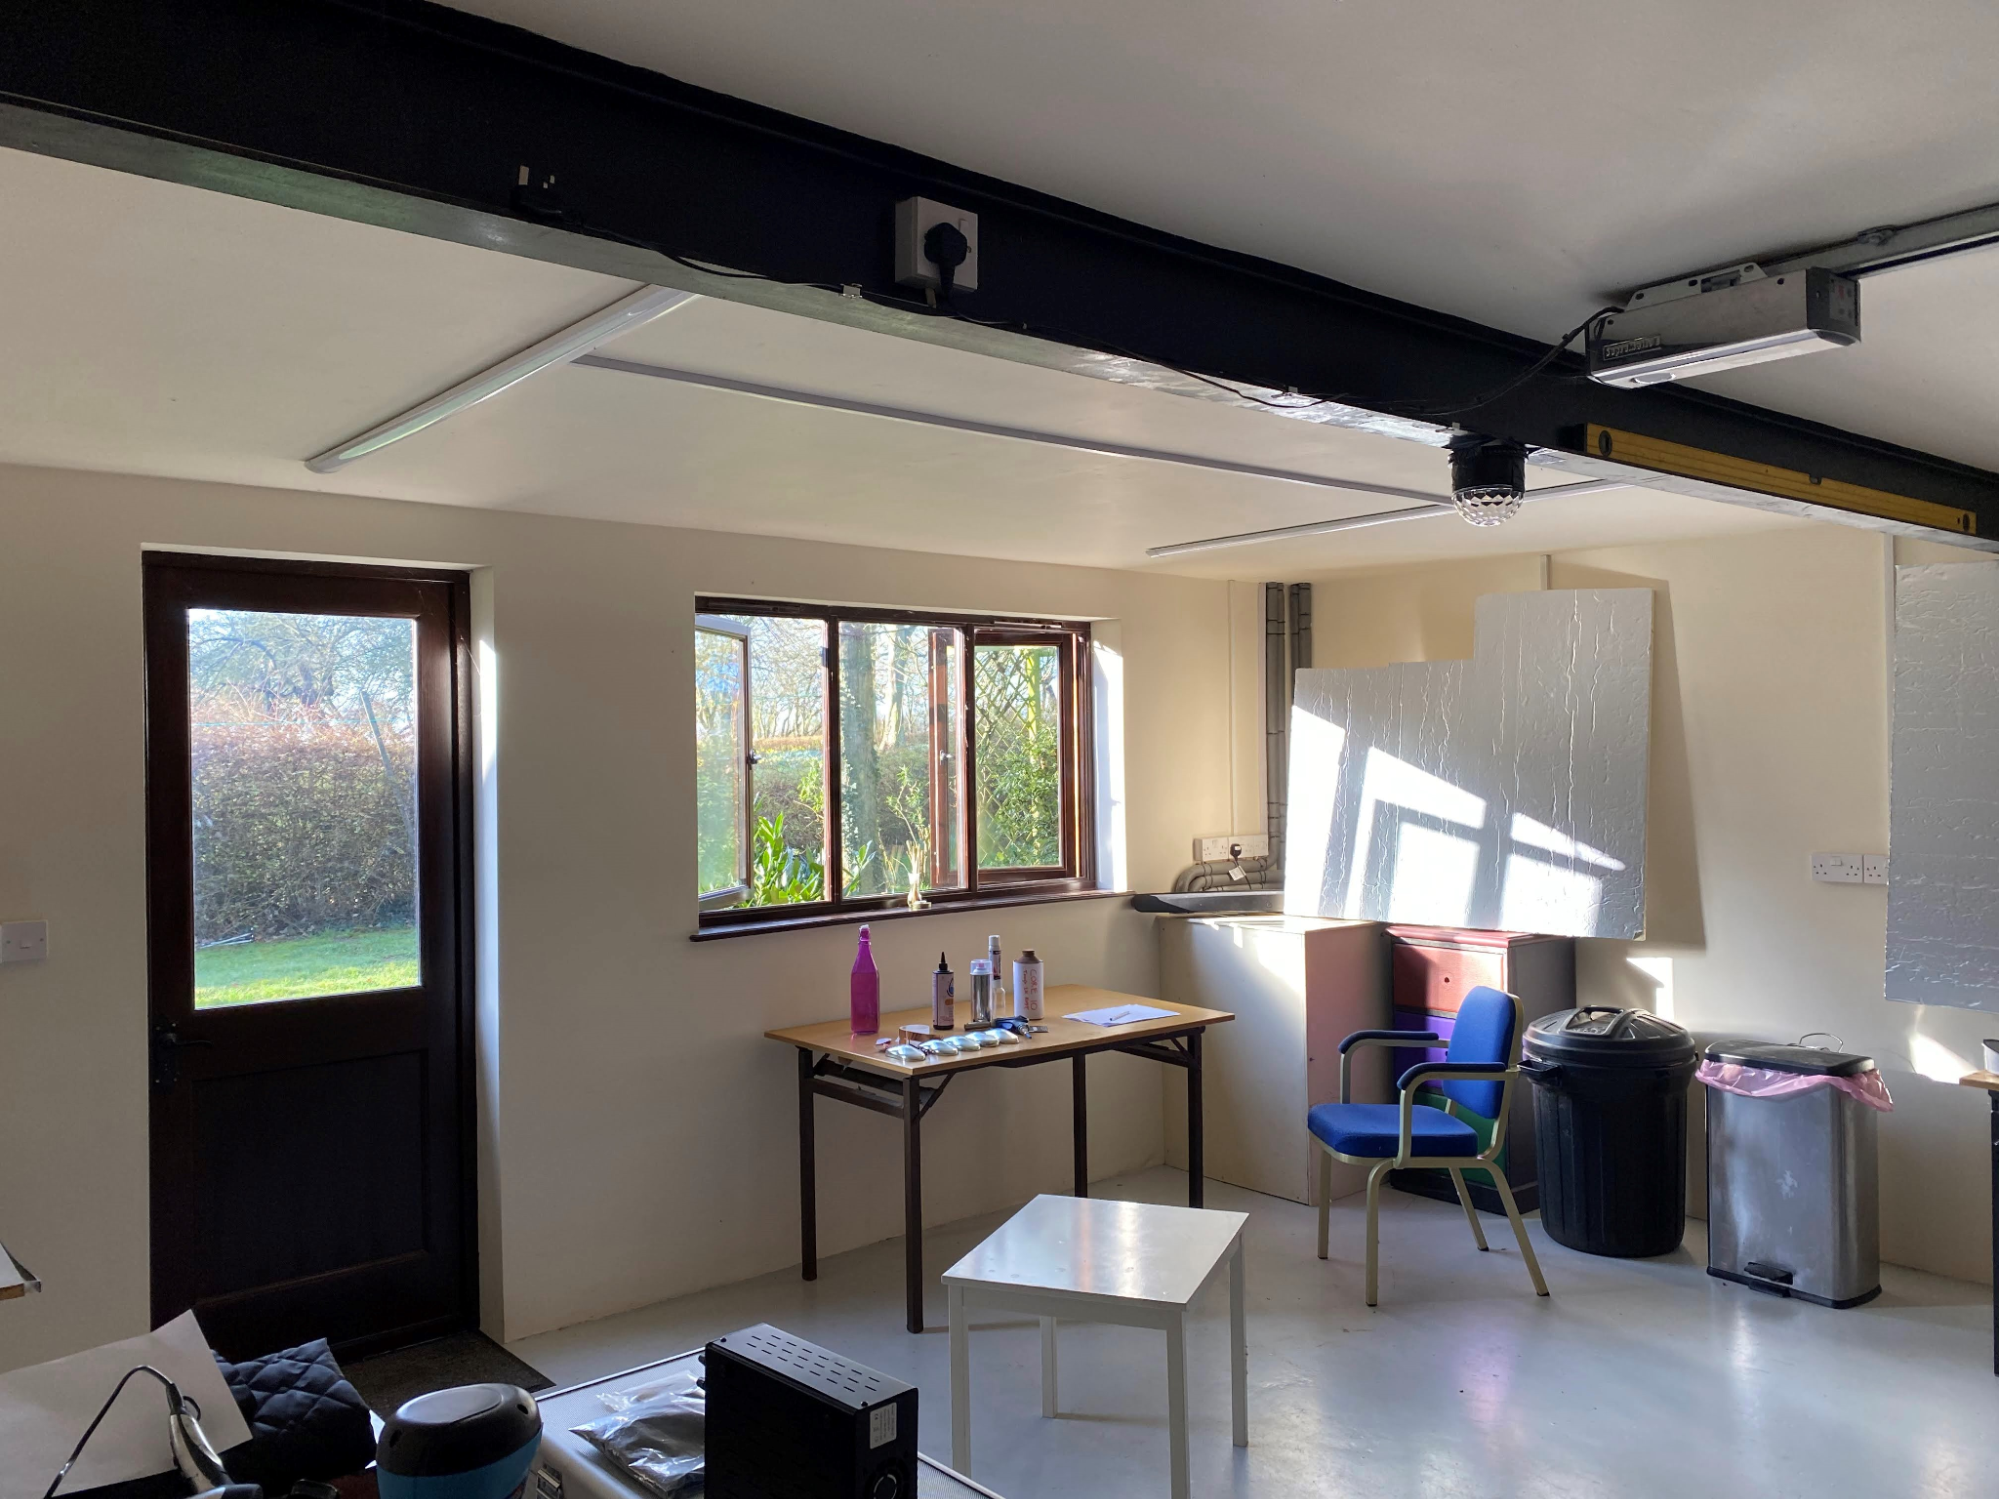
Ideally it is recommended to use at least 2 lights on your subjects. Overall I would say we were successful using natural light. Although on the actual day of filming it was more sunny than the test day, so we had to stack some cardboard over parts of the window where the sun was casting shadows. So if you are relying on natural light filming on an overcast day is probably best.
The creases in the green sheet didn’t seem to cause too much of a problem in the final images but it wouldn’t hurt to iron it.

We made the film with an Iphone 11 on a tripod and were very happy with the video quality but we would have been better using an additional microphone for the sound. The empty room caused an echo which was the most challenging aspect for me to amend in post production and I didn’t completely solve it. Although using the audio ‘Deverb’ effect in Adobe Premiere Pro did improve quality.
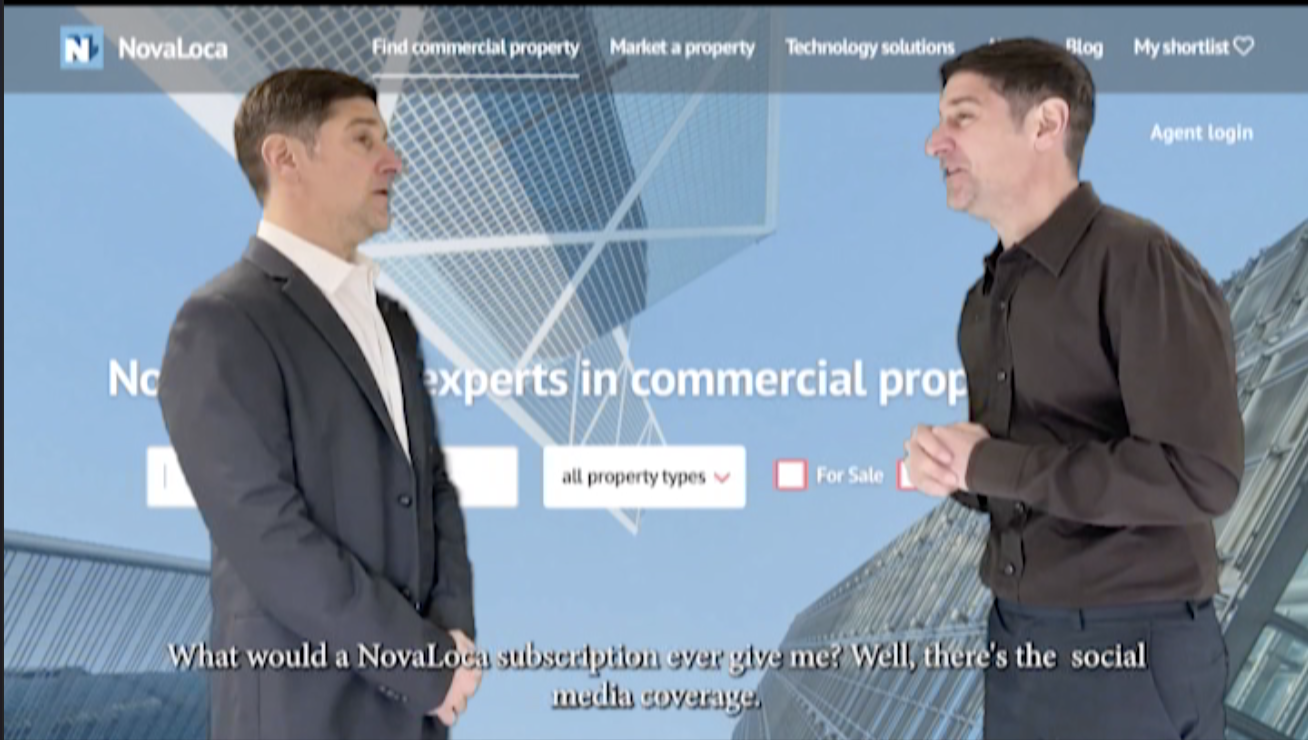
Thanks to a great YouTube video the removal of the green screen in Adobe After Effects proved to be pretty painless. Particularly useful was the point about using a mask to remove parts of the shot where the screen did not reach. (See the triangle shape in the image below).
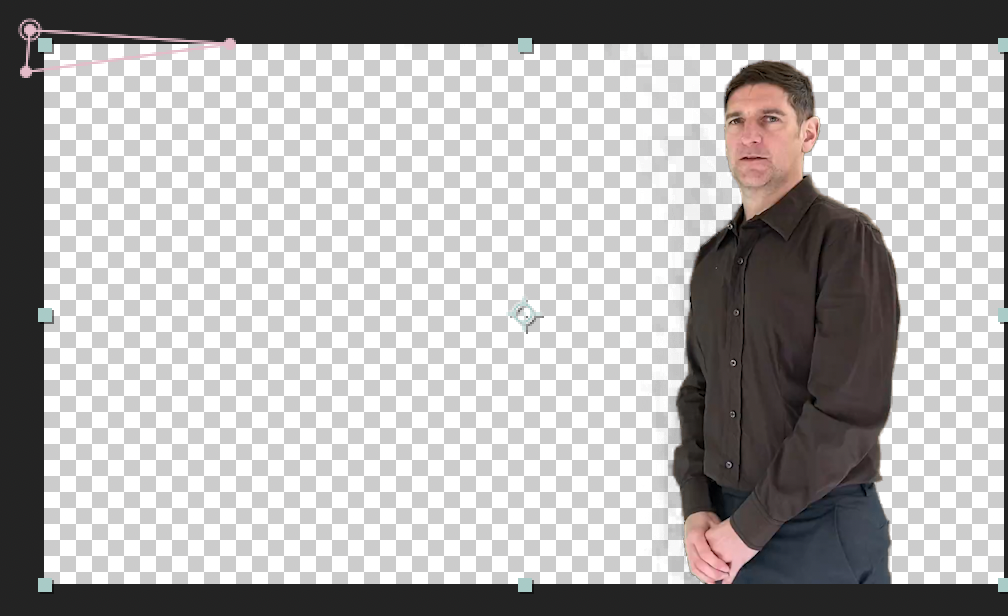
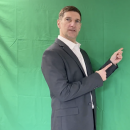
We did have a disappearing arm at one point which I was able to correct by adjusting the contrast of the clip in Adobe Premiere Pro. Don’t let your subject stand too close to the screen so they don’t cast a shadow or green spill on the subject.
Maybe it was a bit ambitious to have our actor take on two characters in the shot so we had a split screen to sort too but it worked. The two characters are on different layers, both with their backgrounds removed. During filming I was feeding dialogue from one character to the other and unfortunately speaking at a different speed to the actor. Another tip to pass on then is to allow some silent acting moments on screen to fill in gaps.
If you head over to our YouTube channel you can see our final film. We’d love to see any green screen productions you have created too!